


Your Electrocardiogram Experience
 Download PDF
Download PDF

Your Electrocardiogram Experience
We want to ensure that you receive the highest level of healthcare. This means keeping you educated and informed about what is involved in the different stages of your Electrocardiogram procedure. If you have any questions or concerns, please speak with your doctor or medical technician.
What is an Electrocardiogram?
An Electrocardiogram, also referred to as an EKG or ECG (in this booklet we will use ECG), measures the electrical activity of the heartbeat. With each beat, an electrical impulse, or ‘wave’ travels through the heart. This electrical wave causes the muscles to squeeze and pump blood from the heart. On an ECG, a normal heartbeat will show the rate and rhythm of the contractions in the upper and lower chambers. The right and left atria or upper chambers make the first wave, called a ‘P wave’, following a flat line when the electrical impulse goes to the bottom chambers or ventricles. The right and left bottom chambers make the next wave, called a ‘QRS complex’. The final wave, or ‘T wave’, represents electrical recovery or return to a resting state for the ventricles.

Why is an ECG Needed?
You may need an ECG:
- To determine/detect arrhythmias (irregular heart rhythms) or coronary artery disease, if blocked or narrowed arteries in the heart are causing chest pain or a heart attack
- To follow up after a previous heart attack
- To check heart disease treatments, such as a pacemaker
- If you have been experiencing chest pain, dizziness,
lightheadedness or confusion, heart palpitations, rapid
pulse, shortness of breath, weakness, fatigue, or a decline in your ability to exercise.
If symptoms tend to come and go, they may not be detected during a standard ECG recording. A healthcare provider might recommend remote or continuous ECG monitoring such as a Holter monitor. A Holter monitor is a small, wearable device that records a continuous ECG, usually for 24 to 48 hours (ambulatory ECG).
Who will be involved in the ECG?
Your ECG will include two main team members:
- A Cardiology Technician, who will assist you onto the ECG couch, position you correctly, and start the ECG, as well as monitor your safety throughout the procedure; and
- A Cardiologist, the medical doctor who will report on and review your ECG with you.
Preparing for the ECG
ECGs do not require a lot of preparation on your part. You are advised to:
- Avoid putting on skin cream or oil since they tend to interfere with obtaining a good ECG recording; and
- Wear a button-down shirt so that the electrodes can be placed easily onto your chest and arm. However, you can change into a patient gown if needed.
It is best for men to shave their chest at home prior to their appointment to ensure good connection with the electrode stickers.
This is what you can expect when you come to Health City for an ECG.
STEP 1 When you arrive at Health City, you will check in at reception.
STEP 2 A member of the Health City team will escort you to the diagnostic wing.
STEP 3 You will be asked to remove your clothing from the waist up. The technician will ensure privacy by covering you with a sheet or gown and exposing only the necessary skin.
STEP 4 You will be assisted onto the ECG couch, where you will lie flat on your back. Small, sticky patches (electrodes) will be placed on your chest, wrists, and ankles. The areas where the electrodes will be placed are cleaned and may be shaved to provide good contact with the skin with the help of conductive gel.
STEP 5 You must lie still and avoid talking during the procedure, to not interfere with the tracing. The electrodes are connected to a machine that monitors and records the heart’s electrical activity from 12 different views.
STEP 6 Once the leads are attached, the cardiology technician will key identifying information into the machine’s computer. The ECG will be started, allowing the cardiology technician to see your baseline ECG and determine if there is any abnormal conduction through the heart while it is at rest. This should take approximately 10 minutes.
STEP 7 Once the imaging has been completed, the leads will be disconnected, and the skin electrodes removed. Any gel that was used will be wiped off. You will be assisted off the couch. You may get changed and will be escorted back to reception to exit the hospital.
STEP 8 Your ECG report will be sent to the ordering physician within 48 hours. Please ensure you have your follow-up appointment booked after.
What are the Risks of an Electrocardiogram?
Electrocardiograms are safe, painless, noninvasive tests that have no major risks. The electrodes (sticky patches) that connect the sensors to your chest do not send out electric shocks. You may experience mild skin irritation where the electrodes are attached.
Frequently Asked Questions
Other Patient Pathway Posts
Pulmonary Embolism

What to Expect After a Head Injury

Recovering After A Concussion

How to Care for a Child Who Has Croup

Choking: What You Can Do to Help
Understanding Your Headache & When to Seek Help
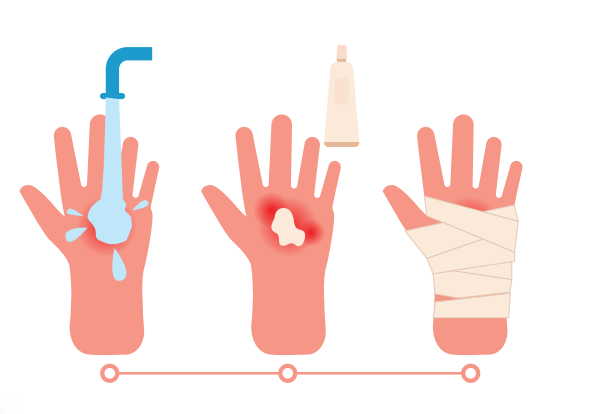
Understanding Burns
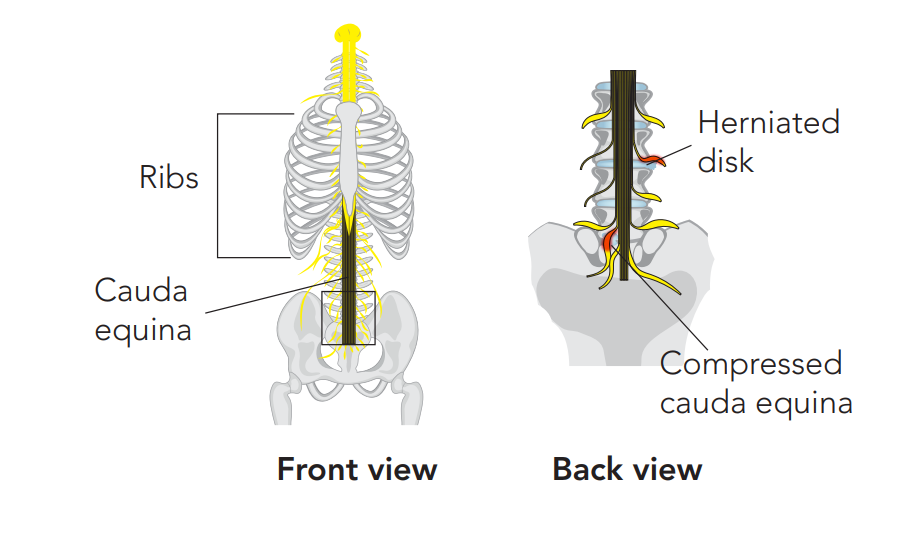
Recognising the Red Flags of Cauda Equina Syndrome
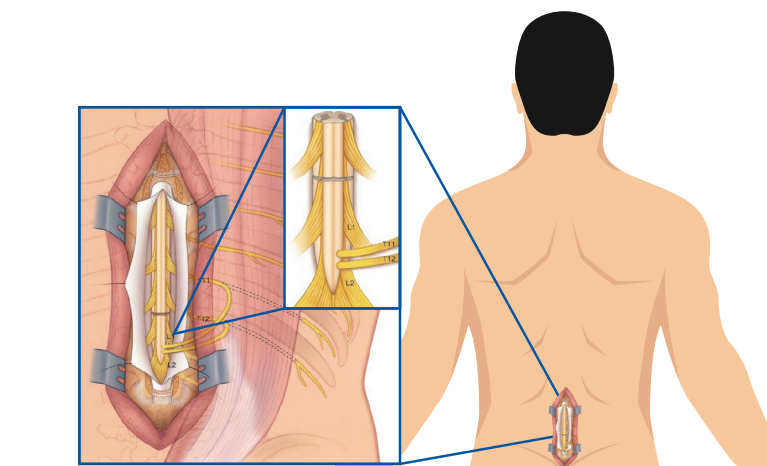
Recovering After Cauda Equina Syndrome
Recovery From Back Pain


