


Your Hip Replacement Surgery
 Download PDF
Download PDF
Your Hip Replacement Surgery
We want to ensure that you receive the highest level of healthcare. This means keeping you educated and informed about what is involved in the different stages of your hip replacement surgery. If you have any questions or concerns, please speak with your doctor or medical team.
Understanding Hip Replacements
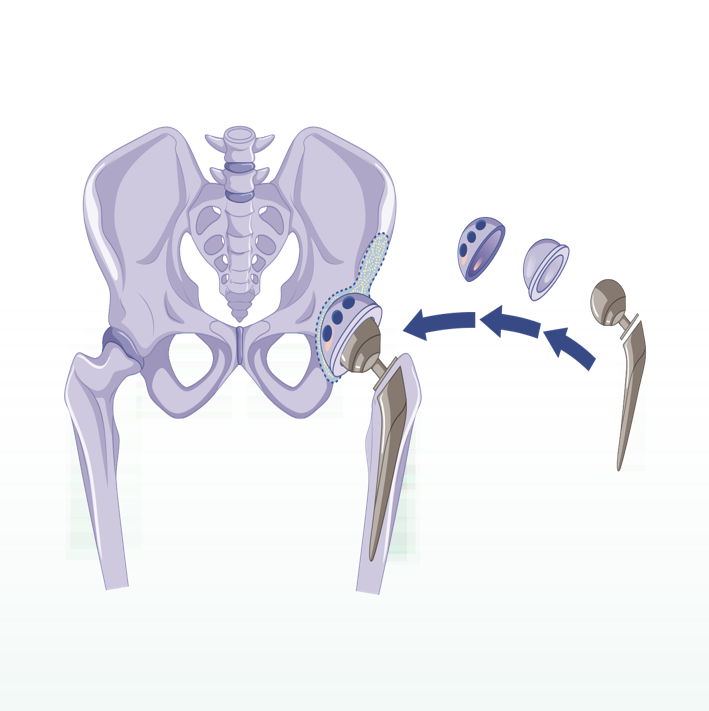
Hip Replacement or hip arthroplasty is the removal of diseased or damaged parts of your hip joint and replacement of portions of the pelvis and femur (thighbone). Most commonly, Hip Replacements are performed to relieve hip pain and stiffness that interfere with daily activities caused by hip arthritis, or due to an injury such as a broken or improperly growing hip. This artificial joint (prosthesis) is usually made of metal, ceramic and very hard plastic, and mimics the ball-and-socket action of your hip joint.

How to Prepare for Your Hip Replacement
Your doctor will advise you to:
- Have pre-operative blood tests and scans including X-rays; and
- Do a Pre-Anaesthetist Clinic appointment with the anaesthetist, who will inform you when to stop eating and drinking and if any further investigations are needed before
the procedure.
If you have diabetes, ask your doctor for instructions about when to take your insulin or other diabetes medication.
If you are on blood thinners, you need to stop the medications a few days before the surgery. Please discuss with your doctor regarding this.
You should also do the following:
- Take all other medications as usual with small sips of water on the morning of your procedure.
- Leave your jewellery and other valuables at home.
- Bring a current list of medications and allergies with you to the hospital.
- Bring your government-issued identification.
- Ensure you have someone to drive you home after your procedure and to help you at home with everyday tasks such as cooking, bathing and laundry.
You will attend physiotherapy to improve your mobility after your procedure. It may be helpful making your home safer and easier to navigate during your recovery by:
- Creating a living space on one floor as climbing stairs can be difficult
- Installing safety bars or a secure handrail in your shower or bath and on your stairs
- Getting a stable chair with a firm seat cushion and back, and a footstool to elevate your leg
- Arranging for a toilet seat riser with arms if you have a low toilet and a stable bench or chair for your shower
- Removing loose rugs and cords from around your house.
The Procedure
These are the FOUR STEPS you will go through when you come to Health City for Hip Replacement Surgery.
STEP 1 You will be admitted 60 minutes before your procedure unless otherwise advised by the patient care coordinator. After check-in, a healthcare provider will lead you to a room where you can change into a hospital gown. A nurse will check your vitals such as blood pressure, pulse, and oxygen, and place an IV line in your arm to begin delivering sedatives and pain medication to your bloodstream. From there, you will be taken inside the operating room for your procedure.
STEP 2 The anaesthetist will give you either a spinal block which numbs the lower half of your body, or a general anaesthetic, which puts you into a sleep-like state. Your orthopaedic surgeon might also inject numbing medicine around nerves or in and around the joint to help block pain after your surgery.
STEP 3 Your Hip Replacement Surgery should take between one and two hours. Once the anaesthetist has administered the anaesthetic the surgeon will make an incision over the hip, and remove the diseased and damaged bone and cartilage, leaving healthy bone intact. The replacement socket will be implanted into the pelvic bone and a metal stem inserted into the top of the thighbone, which is then topped
with a replacement ball.
STEP 4 You can expect to go home within 1-2 days after the surgery. Your care team will check that all is stable before you are discharged by ensuring:
- Your vital signs are within an acceptable range;
- Your pain is manageable, and you do not feel nauseous;
- You can get out of bed and stand up from a chair without assistance;
- You can walk a short distance with an assistive device; and
- You can safely navigate a short flight of stairs.
At Home Care
You can expect some pain, swelling, and bruising after surgery. You should:
- Use ice packs or an ice therapy machine to reduce pain and swelling;
- Take prescription pain relievers, such as opioids, as prescribed;
- Keep the leg facing forward and the affected leg in front while standing or sitting; and
- Apply heat before exercise and cut back on exercise if the muscles begin to ache.
You Should Avoid:
- Crossing the legs at the knee and lifting the knee higher than the hip;
- Kneeling on the affected leg;
- Leaning forward while sitting and reaching down while lying down;
- Bending 90 degrees from the waist; and
- Turning your feet far outward or inward when bending.
Please note these restrictions may be unnecessary if your doctor suggests you do a muscle sparing front approach surgery.
Follow-up Appointments
Your first dressing appointment will be three days post-discharge then every three days. Your sutures will be removed at your fourth dressing appointment. You will have an X-ray and a review with the doctor one month after your
procedure. All appointments will be made at your convenience and availability. If you need assistance between appointments, please contact us.
Plan/Activities
Your healthcare team will help you get up and moving with the aid of assistive devices. They will help also show you how to strengthen the hip and advise you what activities to avoid. They will show you how to sit and bend to avoid damaging the new hip, give you frequent breathing exercises, and gradually increase your activity level before discharge.
You will focus on restoring gait, increasing range of motion, and regaining strength. If using a cane, hold it in the hand opposite to your new hip and avoid leaning away from your new hip. This can help offset your weight and improve the mechanics of walking.
Walk and stand for more than 10 minutes. Keep doing exercises to improve your mobility and range of motion. You may stop using your assistive device. Throughout your recovery, alternate between sitting and walking throughout the day as sitting for long periods can cause your hip to feel stiff. You should find that you no longer need the medication to manage the post-procedure pain.
You can start returning to daily activities like work, driving, travel, and household tasks. You will need to continue with regular walks. A stationary bike may be useful as you continue to work on strengthening, balance training, and progressing to walking without the use of an assistive device. The swelling and inflammation should also be reduced.
During this time you should be regaining full strength; improving endurance; functioning at home independently, for example, getting dressed; and going up and down stairs safely.
If your surgeon agrees, you can start returning to higher-impact activities such as swimming, golfing, hiking, low-impact aerobics, and rowing. These activities also have a low fall risk, which is very important after having a total Hip Replacement. However, you are advised to avoid high-impact sports with a high-fall risk after a total Hip Replacement. These include running, jumping, and anything that causes repetitive high impact on the hip, specifically racquet sports or snow sports and high-impact aerobics. You should have less or no pain during your typical activities and recreational exercise, and a full range of motion in your hip.
Frequently Asked Questions
Other Patient Pathway Posts
Pulmonary Embolism

What to Expect After a Head Injury

Recovering After A Concussion
How to Care for a Child Who Has Croup
Choking: What You Can Do to Help
Understanding Your Headache & When to Seek Help
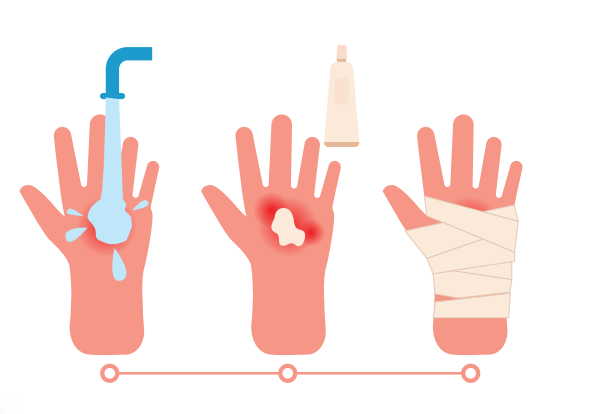
Understanding Burns
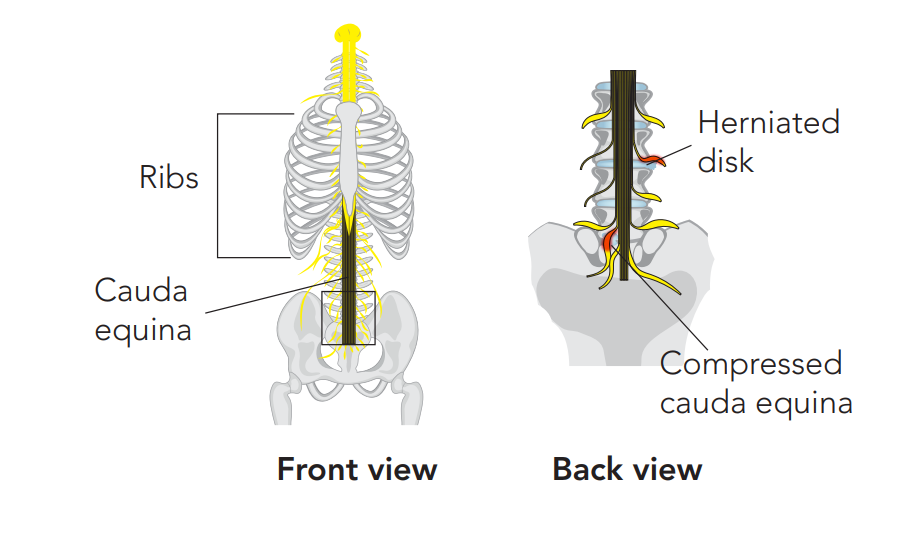
Recognising the Red Flags of Cauda Equina Syndrome
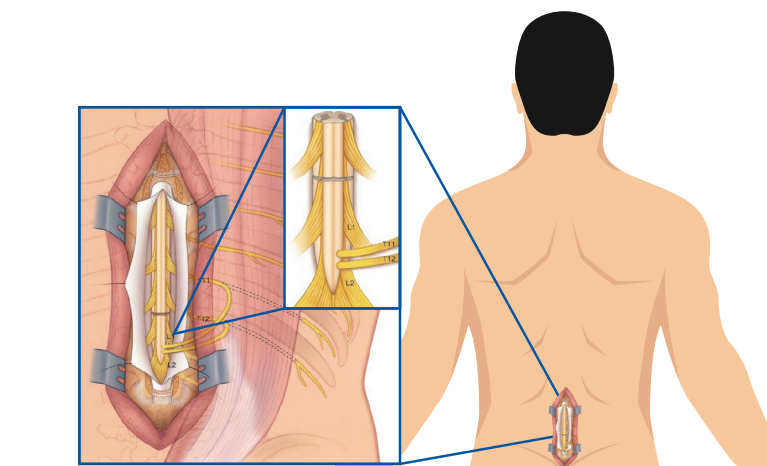
Recovering After Cauda Equina Syndrome
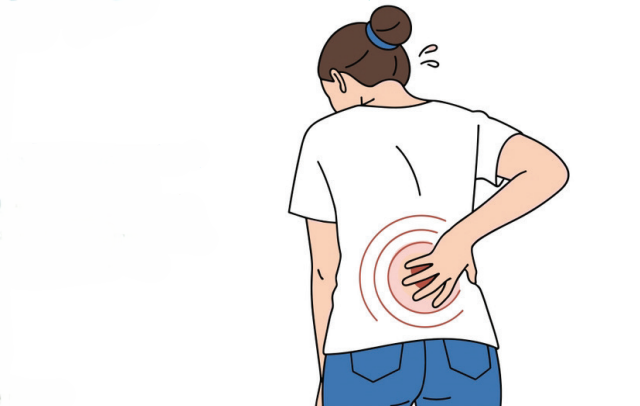
Recovery From Back Pain


