


Your 48-Hour Cardiac Monitoring
 Download PDF
Download PDF

Your 48-Hour Cardiac Monitoring
We are committed to ensuring you receive the highest standard of healthcare. That includes making sure you understand your tests and how to prepare for them. This guide takes you through the process of 48-hour Cardiac Monitoring. If you have any concerns or questions, please speak with your doctor or cardiac team.
Understanding 48-Hour Cardiac Monitoring
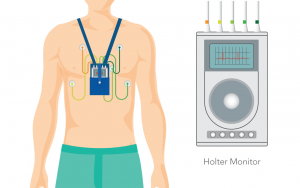
A 48-hour Cardiac Monitor—also known as a Holter monitor—is a small, wearable device that continuously records your heart’s electrical activity over a 48-hour period. It helps identify irregular heart rhythms (arrhythmias), monitor symptoms like dizziness or palpitations, and assess how well medications are working. Some heart rhythm problems are infrequent. Monitoring for 48 hours increases the chance of capturing any abnormalities.
Your doctor may recommend this Test if you experience:
- Irregular heartbeats
- Chest pain or discomfort
- Dizziness or fainting
- Palpitations
- Unexplained fatigue or shortness of breath.
The monitor records your heart rhythm during normal daily activities, offering valuable insights that a one-time ECG may not capture.
How to Prepare for 48-Hour Cardiac Monitoring
You won’t need to fast or make major changes before the Test, but it helps to be prepared.
- Wear loose, comfortable clothing, preferably a two-piece outfit (no dress, romper etc.).
- Avoid using skin creams, lotions, or oils on your chest before the appointment.
- Inform your clinician of any skin allergies or sensitivities to adhesive.
- Shave chest hair if advised to help the electrodes stick securely.
You may be asked to bring a written log or diary to record symptoms and activities during the 48-hour period.
What to Expect During the Monitoring
Here’s what will happen at your appointment.
STEP 1: Electrode Placement
A technician will place small, sticky electrode pads on your chest. These connect to wires attached to a lightweight, portable recording device.
STEP 2: Wearing the Monitor
The device may be worn on a belt, over the shoulder, or around the neck in a pouch. It will stay connected and record continuously for 48 hours.
STEP 2:Activity and Symptom Diary
You’ll be asked to keep a detailed log of:
- Your activities (e.g., walking, eating, sleeping)
- Any symptoms you feel (e.g., dizziness, palpitations)
- The time each symptom occurred.
This helps the cardiac team correlate your symptoms with any rhythm changes.
Dos and Don’ts While Wearing the Monitor
Do:
- Continue normal daily activities (unless advised otherwise).
- Keep the monitor dry and clean.
- Sleep with the monitor on.
- Follow the diary instructions closely.
Don’t:
- Shower, bathe, or swim—keep the monitor dry.
- Use electric blankets or heating pads (they may interfere with the signal).
- Use high-voltage tools or magnetic items close to the monitor.
- Tamper with the wires, pads, or device.
After 48 Hours: What Happens Next
- Return to the clinic at the time scheduled to have the monitor removed.
- Submit your completed diary/log.
- The recorded data will be analysed by a cardiologist.
- Your doctor will follow up with the results and any recommended next steps.
Frequently Asked Questions
Other Patient Pathway Posts
Pulmonary Embolism

What to Expect After a Head Injury

Recovering After A Concussion

How to Care for a Child Who Has Croup

Choking: What You Can Do to Help

Understanding Your Headache & When to Seek Help
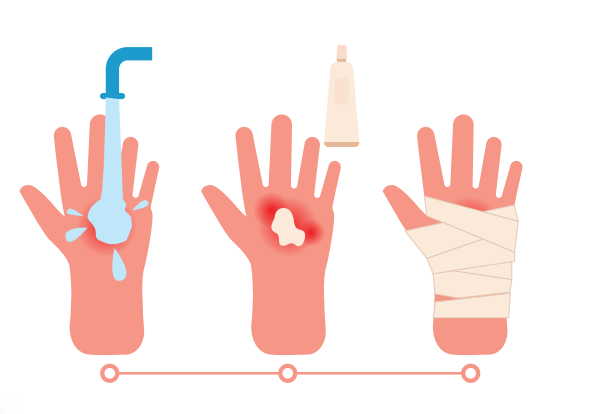
Understanding Burns
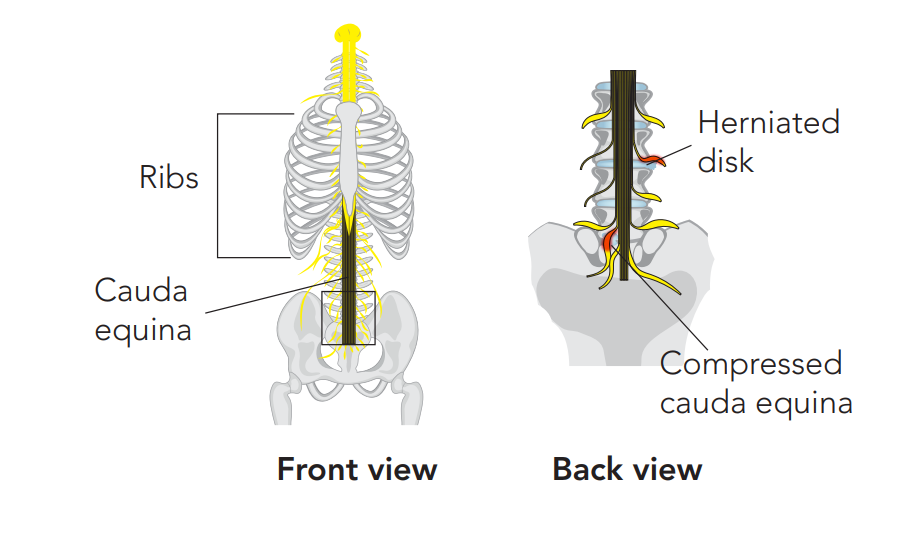
Recognising the Red Flags of Cauda Equina Syndrome
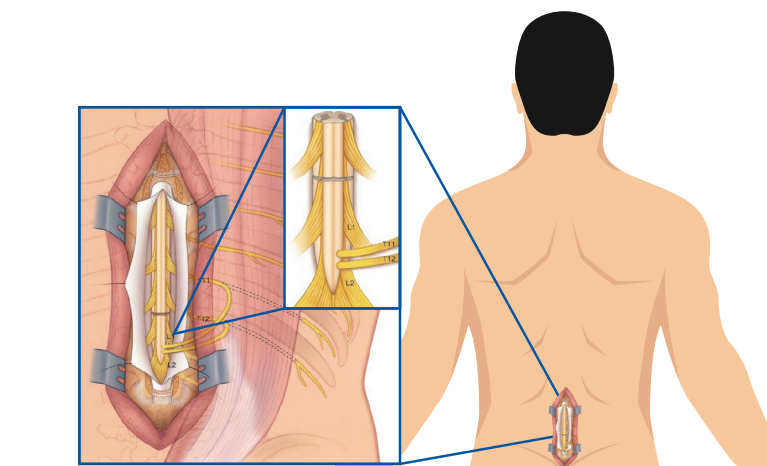
Recovering After Cauda Equina Syndrome

Recovery From Back Pain


