


Your Blood Draw Experience
 Download PDF
Download PDF

Your Blood Draw Experience
We want to ensure that you receive the highest level of healthcare. This means keeping you educated and informed about what is involved in the different stages of a blood draw. If you have any questions or concerns, please speak with your doctor or medical technician.
Understanding Blood Tests
Blood tests are a simple, important way to measure the health of your body. Your doctor can use the results to assess your organs, diagnose conditions/diseases such as diabetes and heart disease and monitor treatments for those conditions/diseases. A phlebotomist is the medical professional who draws blood from patients for testing, donation, or transfusion purposes.
Preparing for the Blood Draw
Some tests require that you don’t eat or drink anything other than water prior; therefore the best time to do such tests is first thing in the morning. Others do not require you to fast at all.
Even if fasting is not required, the following is advisable.
- Drink plenty of water before your appointment – your blood volume goes up when you are hydrated, and your veins are plumper and easier to access.
- Wear a short-sleeved shirt or layers to make it easier to access your veins.
- Stop taking aspirin at least two days before your blood draw. If you plan to donate blood, please speak with your doctor to confirm if/when you should discontinue any medication such as aspirin.
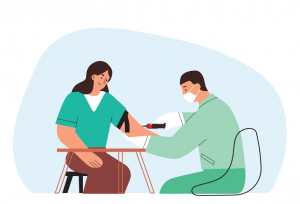
The Blood Draw
The time it takes for a blood draw usually depends upon the amount of blood needed. This can range from a few minutes for a blood sample to an hour for blood donation. This is what to expect during a blood draw.
Step 1
When you arrive at Health City, you will check in at reception.
Step 2
A member of the Health City team will escort you to the phlebotomy room.
Step 3
The phlebotomist will ask you to expose one arm, and then place a tight elastic band known as a tourniquet around that limb. This makes the veins back up with blood and easier to identify. Please inform the phlebotomist if you have a preference regarding where the blood is drawn from. This could be your non-dominant arm or an area where you know a person taking your blood has had success before.
Step 4
The phlebotomist will identify a vein that appears easy to access, specifically a large, visible vein. They may feel the vein to assess the size and borders.
Step 5
The area will be cleaned with an alcohol pad or other cleansing method. While the phlebotomist will look for the most viable vein, it’s possible they may have difficulty accessing the vein when they insert the needle. If this is the case, they may need to try another vein.
Step 6
A needle will be inserted into your skin to access the vein. The needle is usually connected to special tubing or a syringe to collect blood.
Step 7
Once the blood has been collected, the tourniquet will be released and the needle removed from your arm. A gauze or bandage will be placed at the puncture site; applying gentle pressure will prevent further bleeding. After a short while, the phlebotomist will likely cover the puncture site with a bandage.
Step 8
You may leave the department/hospital.
Frequently Asked Questions
Other Patient Pathway Posts
Pulmonary Embolism
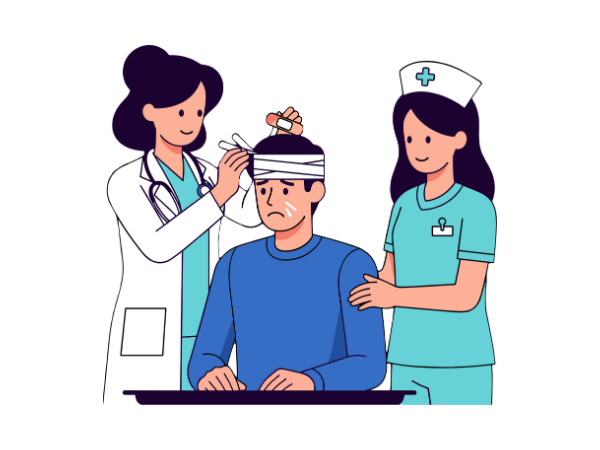
What to Expect After a Head Injury

Recovering After A Concussion
How to Care for a Child Who Has Croup

Choking: What You Can Do to Help

Understanding Your Headache & When to Seek Help
Understanding Burns
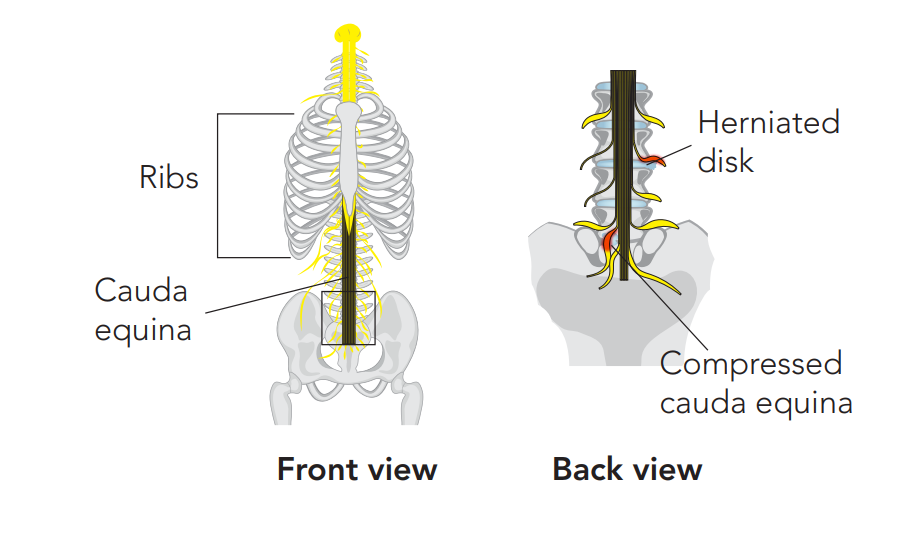
Recognising the Red Flags of Cauda Equina Syndrome
Recovering After Cauda Equina Syndrome
Recovery From Back Pain


